How to Create an API with AI: Prompt, Validate, Generate, Deploy
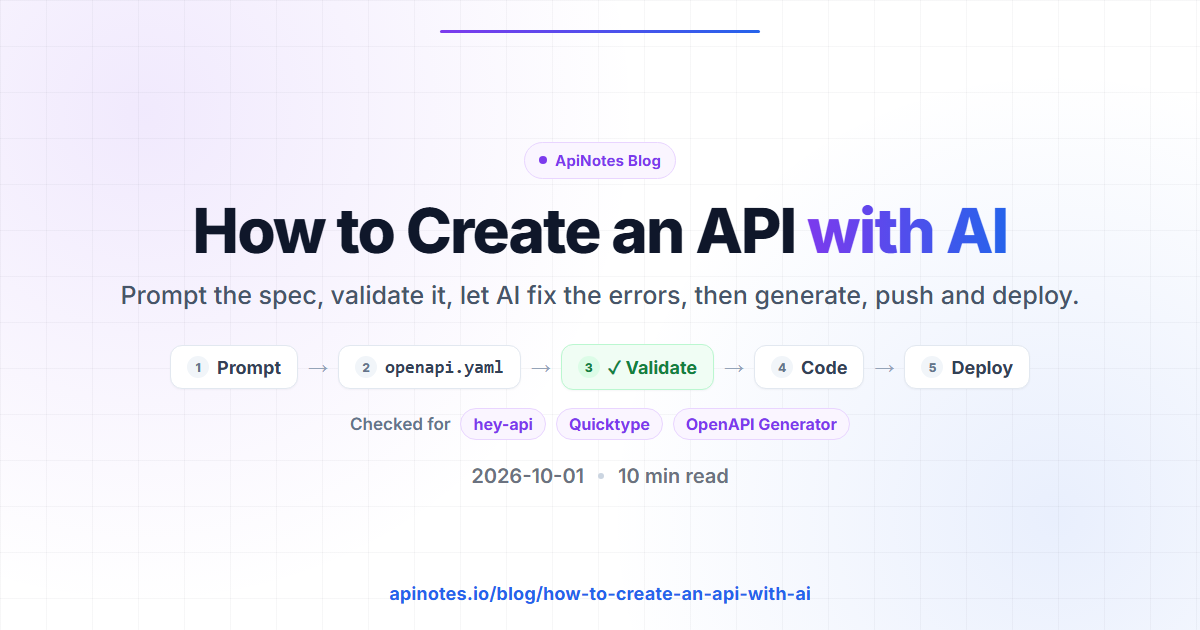
Use AI to design your API as an OpenAPI spec first. Copy-paste prompts, validate the AI's output for hey-api and Quicktype, feed errors back to fix it, generate code, push to GitHub and deploy on DigitalOcean.
Published
Reading time
10 min read
Topics covered
Why read this
AI can write an API in minutes, but it writes a broken OpenAPI spec just as fast. This guide gives you a workflow that catches the mistakes before they become code.
- Get five copy-paste prompts that make AI produce a usable OpenAPI spec.
- Validate the AI's spec, including whether hey-api and Quicktype will accept it.
- Export the errors and hand them back to the AI to fix, in a loop that converges.
Ask an AI model to "build me an API for a bookstore" and you get a few hundred lines of Express or FastAPI that run on the first try. The trouble comes later, when you need a client SDK, documentation, or a second developer who wants to know what /books/search returns. The design only exists inside the implementation, and the AI made most of the decisions without telling you.
A better workflow is to have the AI write the contract first: an OpenAPI spec. You review the design while it is still a short YAML file that is easy to change. A validator checks the parts you can't check by eye. Server code, client SDKs and docs are then all generated from the same file.
This guide walks through that workflow end to end: the prompts, validation, the fix loop, code generation, GitHub and deployment.
# Why Ask for the Spec First
There are three practical reasons.
1. You can review a design faster than an implementation. A 150-line spec shows every endpoint, parameter and response shape at a glance. The same information spread across route handlers, validators and ORM models takes far longer to review.
2. AI output is more consistent when it has a contract to follow. Without one, the model makes up response shapes for each endpoint. With one, "implement this spec" is a narrow, checkable task.
3. One file feeds every tool. Client SDKs, type definitions, mock servers, docs and contract tests all read OpenAPI. If the AI writes code first, you will end up writing the spec afterwards anyway.
# Step 1: Prompt the AI for an OpenAPI Spec
Any capable model works: ChatGPT, Claude, Gemini, Copilot or a local model. What matters more is the prompt. Vague prompts get vague specs, so each prompt below states the OpenAPI version, the output format, and the rules that AI-written specs most often break.
# Prompt 1: A new CRUD API from a description
Write an OpenAPI 3.1 specification in YAML for a task management API.

Resources:
- Project: id (uuid), name (string, max 100), createdAt (date-time)
- Task: id (uuid), projectId, title (required, max 200), status
  (enum: todo, in_progress, done), dueDate (date, optional), assigneeEmail

Endpoints: full CRUD for projects, and for tasks nested under
/projects/{projectId}/tasks. List endpoints support cursor pagination
(limit, cursor) and return { data: [...], nextCursor }.

Rules:
- Put every schema in components/schemas and reference it with $ref.
- Give every operation a unique camelCase operationId and a tag.
- Use one shared Error schema (code, message) for 400, 404 and 422.
- Add realistic examples to request and response bodies.
- Output only the YAML, no commentary.
# Prompt 2: Add authentication and real-world concerns
Write an OpenAPI 3.1 spec (YAML) for a bookstore API with books, authors
and orders.

- Secure everything with a bearer JWT security scheme, except GET /books
  and GET /books/{bookId}, which are public.
- Orders can only be created and read by the authenticated customer.
- Return 401 and 403 with the shared Error schema where they apply.
- Document rate limiting with X-RateLimit-Limit and
  X-RateLimit-Remaining response headers on every 2xx response.
- Money is an object { amount: integer (minor units), currency: ISO 4217 }.
- Do not use "nullable"; in 3.1 use type: [string, "null"] instead.
- Output only the YAML.
That last rule is there because models trained on years of 3.0 examples often mix nullable: true into 3.1 specs.
# Prompt 3: Turn an existing database schema into an API
Here is my PostgreSQL schema:

<paste your CREATE TABLE statements>

Design a REST API over it as an OpenAPI 3.1 YAML spec.
- Map each table to a resource; use plural, kebab-case paths.
- Don't expose internal columns (password_hash, deleted_at, internal_*).
- Translate column constraints into schema constraints
  (NOT NULL → required, VARCHAR(n) → maxLength, CHECK enums → enum).
- Use separate schemas for create input, update input (all optional)
  and the response.
- Output only the YAML.
# Prompt 4: Document an API you already have
Below are route handlers from my Express app. Write an OpenAPI 3.1 YAML
spec that documents exactly what they do. Do not invent endpoints,
fields or status codes that aren't in the code. If something is
ambiguous, add an "x-todo" extension explaining what to confirm.

<paste routes>
Telling the model not to invent anything, and giving it a place to record uncertainty (x-todo), cuts down on made-up fields. If you only have example requests rather than code, cURL to OpenAPI builds a spec from them without involving an AI model.
# Prompt 5: Extend a spec without breaking it
Here is my current OpenAPI spec:

<paste spec>

Add a webhooks section and a POST /webhook-subscriptions endpoint so
clients can subscribe to task.created and task.completed events.
Constraints: do not rename, remove or change the type of anything that
already exists. Only add. Return the complete updated spec.
Once real clients depend on your API, "only add" is the most important rule in the prompt. To check that the AI followed it, compare the old and new files in OpenAPI Diff, which flags every breaking change.
# Prompting tips that apply to all of the above
- Name the version. "OpenAPI 3.1" or "OpenAPI 3.0.3". Without it you may get a mix of Swagger 2.0 and 3.x syntax.
- Ask for YAML only. Explanations wrapped around the YAML end up pasted into your file.
- Large APIs: ask in parts. Long specs are where models lose track of their own
$refnames. Generate one resource at a time, then ask the model to merge them. - Save the prompt with the spec. Commit it next to
openapi.yaml. It records why the design looks the way it does.
# Step 2: Validate What the AI Gave You
AI-written specs usually look correct. They are indented properly, use the right keywords and read sensibly, so mistakes are easy to miss on review. Typical ones:
$ref: '#/components/schemas/Order'pointing at a schema that was namedOrderResponse- a path like
/tasks/{taskId}with no matchingtaskIdpath parameter - two operations sharing the same
operationIdafter the model was asked to "add" something nullable: truein a 3.1 document, ortype: [string, "null"]in a 3.0 oneexampleandexamplesused interchangeably, in the wrong places- invented keywords that look plausible, like
format: currency
Paste the spec into the free ApiNotes OpenAPI Validator. It runs in the browser, needs no account, and reports each error with the line it is on.
Validate your AI-generated spec
# It also checks hey-api and Quicktype compatibility
A spec can be valid and still fail in the tool you actually use. Code generators are stricter than the OpenAPI specification, and each one has its own limits. Alongside standard validation, the validator runs compatibility checks for specific tools:
- hey-api (
@hey-api/openapi-ts): finds schema patterns that make TypeScript client generation fail or produce wrong types, such asoneOfunions with no discriminator, conflictingallOfmembers and unresolvable references. - Quicktype: finds schemas that Quicktype turns into the wrong types, or rejects, when generating models for TypeScript, Go, Swift, Kotlin, C# and more.
- OpenAPI Generator and Azure API Management are checked the same way.
Each tool gets its own verdict: whether the spec passes cleanly, how many issues block generation, and how many quietly change the output. Every issue links to the line in the spec and includes a suggested fix. This matters with AI-written specs in particular: models produce a lot of oneOf and allOf, and those are the constructs code generators struggle with most.
For a deeper look at what each check catches, see Validate Your OpenAPI Spec Before Generating Code.
# Step 3: Spec Invalid? Export the Errors and Give Them Back to the AI
You don't have to fix the errors yourself. The model that made them is usually good at fixing them, provided it gets precise error messages instead of "it doesn't work".
- In the validator, click Export Errors.
- Choose Markdown (easiest to paste into a chat) or JSON (better for agents and scripts). You can also copy a shareable link to the report.
- Paste the export back into the same conversation with a prompt like this:
The OpenAPI spec you wrote failed validation. Here is the error report:

<paste exported errors>

Fix every error listed. Rules:
- Change only what is needed to resolve each error.
- Don't rename operationIds, paths or schemas that aren't mentioned.
- For hey-api / Quicktype compatibility issues, apply the suggested fix.
- Return the complete corrected spec as YAML only.
- Validate the new version. Repeat until it's clean.
Two or three rounds is normal. If an error survives two rounds, the model is usually going in circles. Fix that line by hand, or start a new conversation with only the current spec and the remaining error.
If you'd rather skip the loop, the validator also has a paid one-click AI Fix that corrects every reported error and gives you the fixed spec to download.
# Step 4: Generate Your API Code from the Spec
Once the spec is valid, you can generate code from it in several ways. Most projects use more than one.
# Option A: Ask the AI to implement the spec
Now the AI's job is narrow and you can check the result:
Implement a Node.js + TypeScript server for this OpenAPI spec using
Fastify and PostgreSQL (via Prisma).

<paste validated spec>

Requirements:
- Implement every operation exactly as specified: same paths, parameter
  names, status codes and response shapes. Do not add endpoints.
- Validate requests against the spec's schemas, returning the spec's
  Error schema on failure.
- Serve the spec at GET /openapi.yaml.
- Read DATABASE_URL and PORT from environment variables.
- Include a Dockerfile, package.json scripts (dev, build, start)
  and a README with setup steps.
Replace Fastify with FastAPI, Spring Boot, Go's net/http, or whatever stack you use. Including "Read PORT from environment variables" in the prompt will matter in Step 6.
# Option B: Generate a typed client with hey-api
For a frontend or any TypeScript consumer of the API:
npx @hey-api/openapi-ts -i openapi.yaml -o src/client
This gives you a typed SDK with one function per operationId. Because the validator already ran the hey-api checks, this step shouldn't fail.
# Option C: Generate models with Quicktype
To get request and response types in another language, such as a Swift app, a Go worker or a Kotlin service, extract the schemas and run Quicktype on them:
npx quicktype -s schema schemas.json -o Models.swift --lang swift
# Option D: Generate server stubs with OpenAPI Generator
OpenAPI Generator produces server stubs for dozens of frameworks. A good combination is to let the generator write the routing and models, then ask the AI to write the business logic inside the generated handlers.
Whichever option you pick, the spec is the source of truth. To change the API, change the spec first, validate it, then regenerate. If the AI edits the code directly, the spec and the code drift apart.
# Step 5: Put the Code in a GitHub Repository
Before deploying, put the project under version control. If you've never created a repository, GitHub's own guide covers it step by step: Creating a new repository.
Create the repository on GitHub without a README, so it's empty, then push your project from its folder:
git init
git add .
git commit -m "Initial API from OpenAPI spec"
git branch -M main
git remote add origin https://github.com/<your-username>/<your-repo>.git
git push -u origin main
Before your first commit, check:
openapi.yamlis committed at the repo root (or in/docs), next to the code it describes..envis in.gitignore. AI-generated projects often include a.envwith sample secrets. Never commit real credentials.node_modules/, build output and generated clients are ignored, or committed on purpose.
Once the spec is in the repo, you can validate it automatically. The OpenAPI GitHub Action checks the spec on every pull request and blocks merges that introduce breaking changes. This is useful when an AI agent is opening the pull requests.
# Step 6: Host It on DigitalOcean
DigitalOcean App Platform can build and run an API directly from a GitHub repository, with no servers to manage.
- In the DigitalOcean control panel, go to Create → App Platform.
- Choose GitHub as the source, authorize DigitalOcean, and pick the repository and
mainbranch. - App Platform detects the stack (Node.js, Python, Go and others) or uses your
Dockerfileif there is one. Check the build and run commands. - Set the HTTP port to the one your server listens on, and add environment variables such as
DATABASE_URL. Mark secrets as encrypted. - If you need a database, add a Managed PostgreSQL component. App Platform can provide its connection string as an environment variable.
- Click Create Resources. The first deploy takes a few minutes, and you get an
*.ondigitalocean.appURL with HTTPS.
With auto-deploy enabled, every push to main redeploys the API. Edit the spec, regenerate, push, and the change is live.
If you prefer to manage your own server, a basic Droplet with Docker running the same Dockerfile also works. You'll then be responsible for TLS, restarts and updates yourself.
# Step 7: Publish Docs from the Same Spec
The spec that drove the code can also produce your documentation. Upload it to ApiNotes to get hosted, interactive docs, and set the servers URL to your new DigitalOcean address so the "try it" requests reach the live API. Each later upload is compared with the previous version, and the changes appear in an automatic changelog.
# The Whole Workflow at a Glance
| Step | Tool | What you get |
|---|---|---|
| 1. Design | ChatGPT, Claude, Gemini, Copilot | openapi.yaml from a precise prompt |
| 2. Validate | ApiNotes Validator | Spec errors + hey-api / Quicktype verdicts |
| 3. Fix | Export Errors → back to the AI | A clean, generator-ready spec |
| 4. Generate | AI, hey-api, Quicktype, OpenAPI Generator | Server, typed client, models |
| 5. Version | GitHub | Repo with spec and code together |
| 6. Deploy | DigitalOcean App Platform | A live HTTPS API that redeploys on push |
| 7. Document | ApiNotes | Hosted docs and a changelog |
# Start with the Spec
Copy one of the prompts above, adjust the resources to your project, and paste the result into the validator. Most AI-written specs have a few errors on the first run, and this is the cheapest point to fix them.
Related reading: